Troubleshooting a Ground Bond Tester
For Adapter Box and Return Lead:
| Insert a piece of metal or a drill bit into the ground pin of the adapter box. Then attach the Black Return test lead to this metal piece or drill bit. | 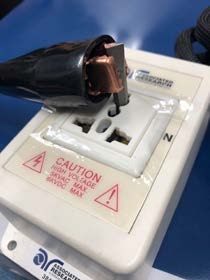 |
| Connect the adapter box to the front panel “Current”, "Sense +", and “HV” connections. Connect Black Return lead to “Return” and "Sense -". | 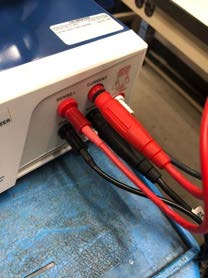 |
| Setup a 30 Amp Ground Bond test for 5 seconds with rest of the test parameters set to default. A measurement of less than 10 mOhms indicates a successful test. | 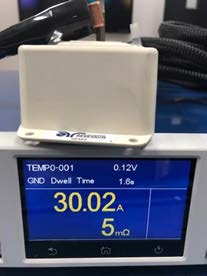 |
| Remove the connection from the front panel and attach “HV”, “Current” and “Return” on the backside of the instrument. Repeat the 30 Amp test to ensure the resistance is below 10 mOhms. | 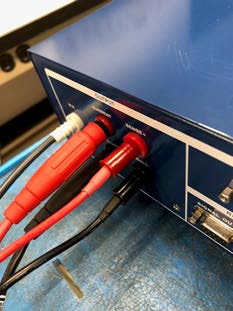 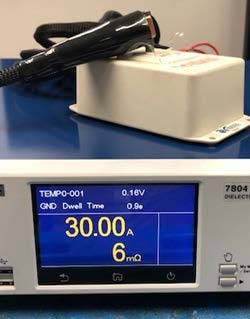
|
For Red High Current and Black Return Leads:
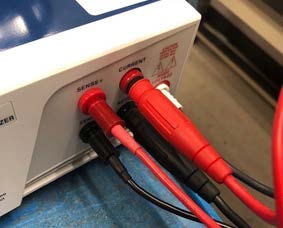
| Connect the Red High Current and Black Return lead to the front panel of the instrument. Connect the alligator clip end of High Current and Return leads to each other, creating a short circuit between the cables. |
  |
| Setup and Run a 30 Amp Ground Bond test for 5 seconds. | 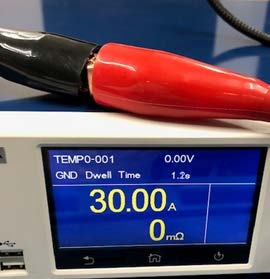 |


